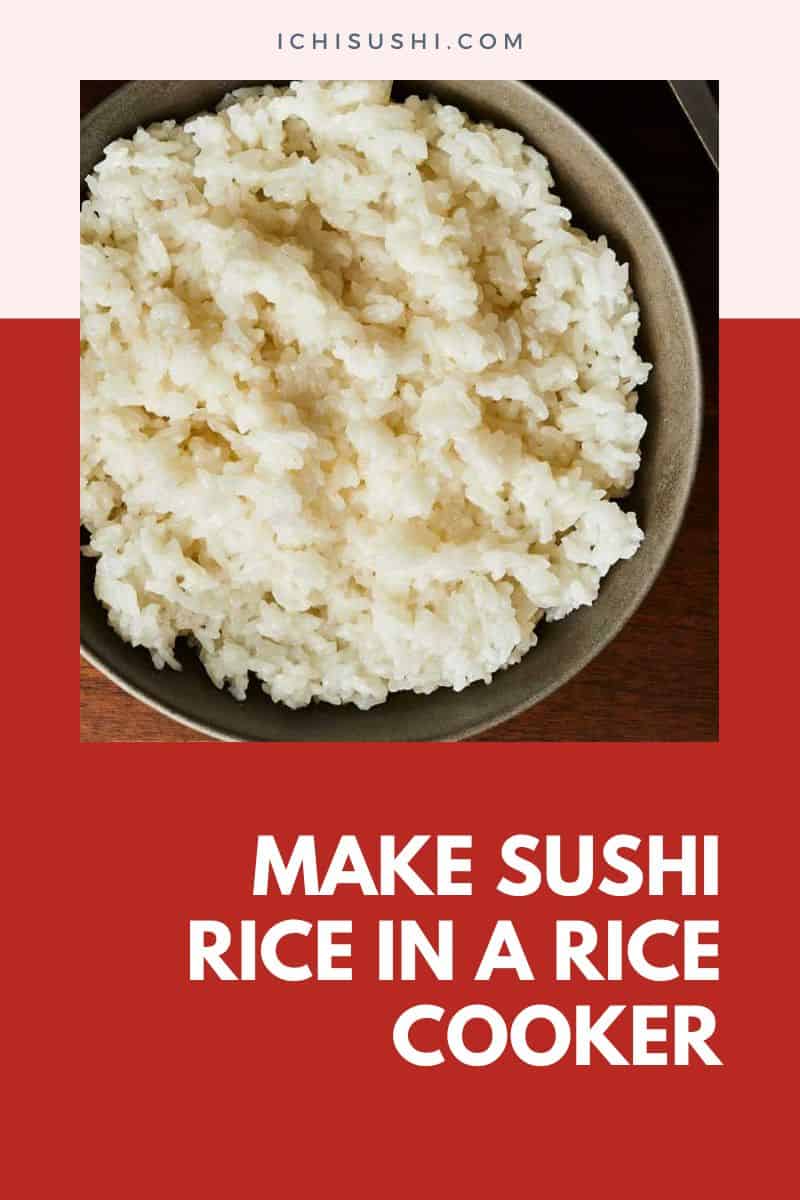
Are you wondering how to make sushi rice in a rice cooker? Well, wonder no more! Today, we will show you how to make sushi rice in a rice cooker in 7 easy steps.
By the end of this discussion, you will have some sushi rice ready to be turned into some delicious sushi!
Now, did that get you excited? Well, let’s not delay this anymore. Let’s go!
1. Getting the Rice
First thing, first. The rice.
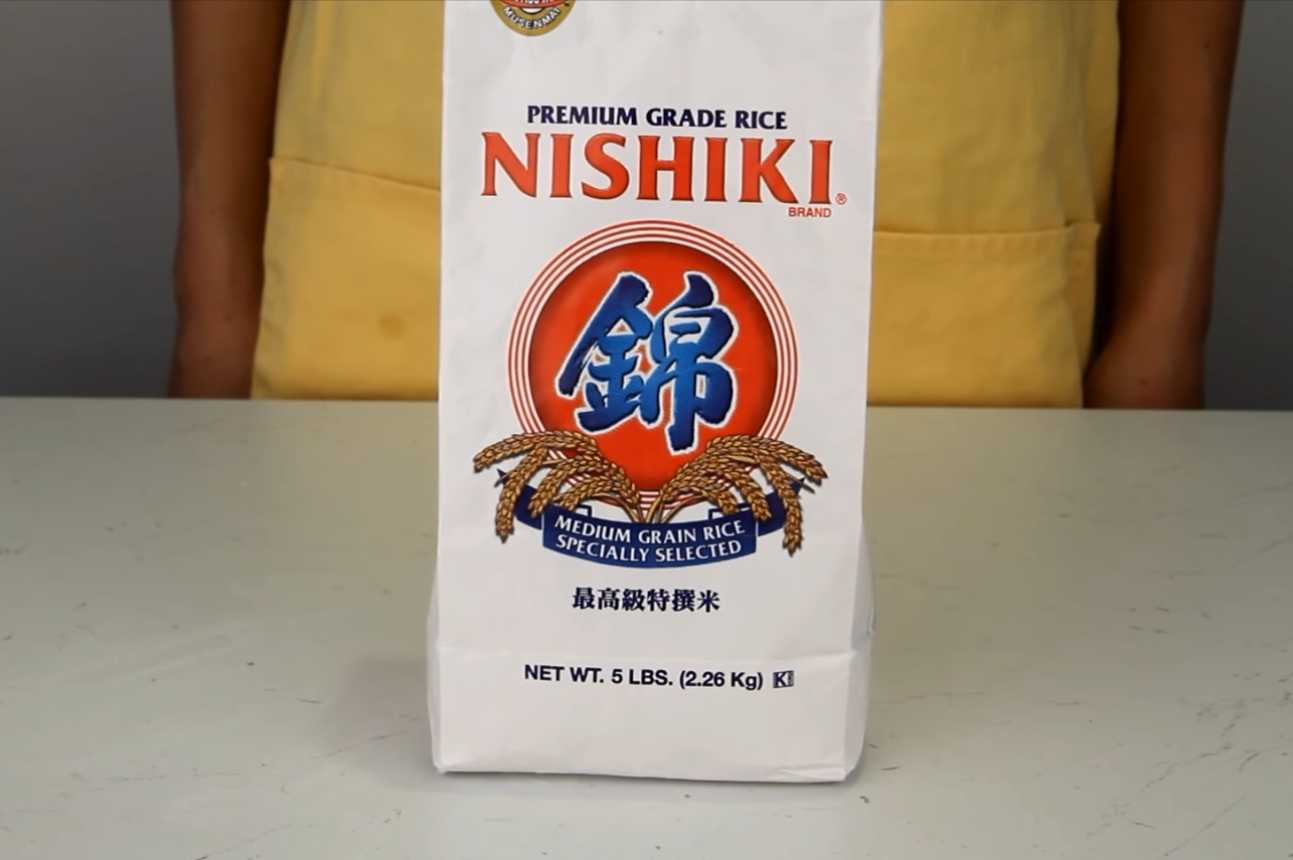
With making sushi rice, not just any rice will do. You will need short or medium-grain white rice. For best results, it might be best to use the Japanese variant.
You don’t have to worry, though. You won’t have much trouble with rice shopping even if this will be the first time you’re buying this kind of rice. Some options are directly labeled as sushi rice, while some indicate if you can use it for such.
When you get to the store, you might find tons of options. If you have exquisite taste, you might want to get and try a few brands.
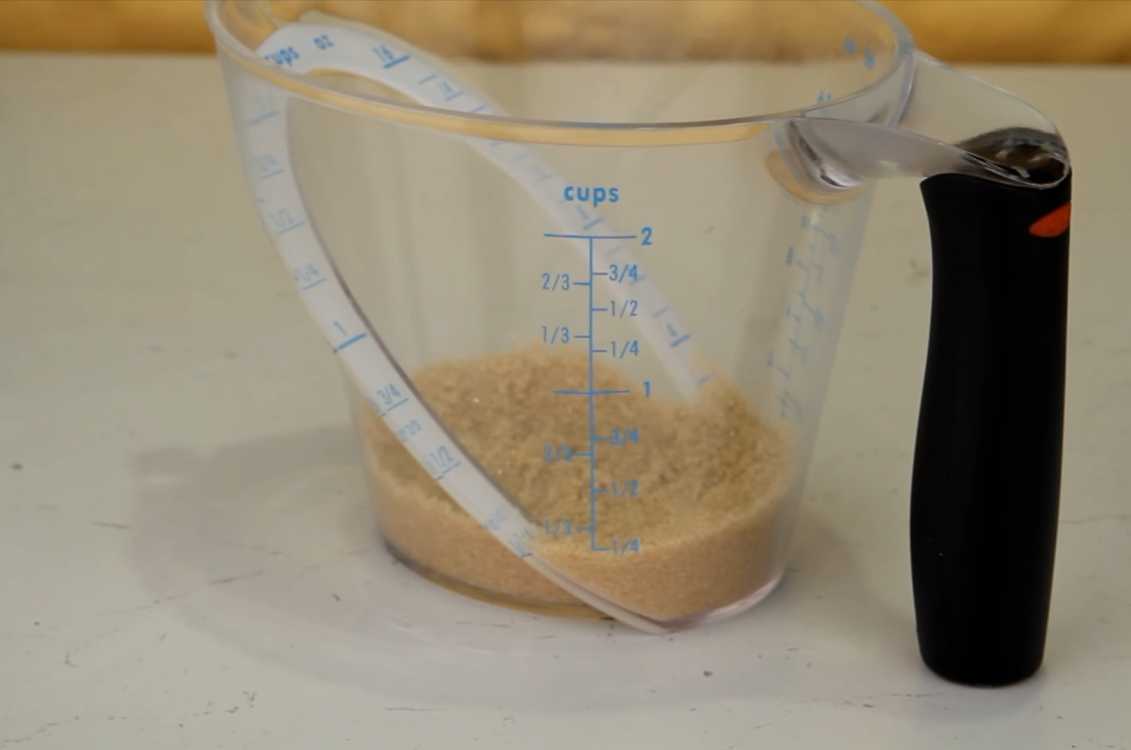
2. Measuring the Rice

Once you have your rice, it’s time to get your measuring cup.
This step would depend on the recipe you are following, how many rolls you are making, and, sometimes, your rice cooker. Generally, a roll of sushi would approximately have 80 grams.
So, you can base your measurements on that. However, if you plan to make tons of rolls, your rice cooker might not be able to handle it in one go.
3. Washing the Rice
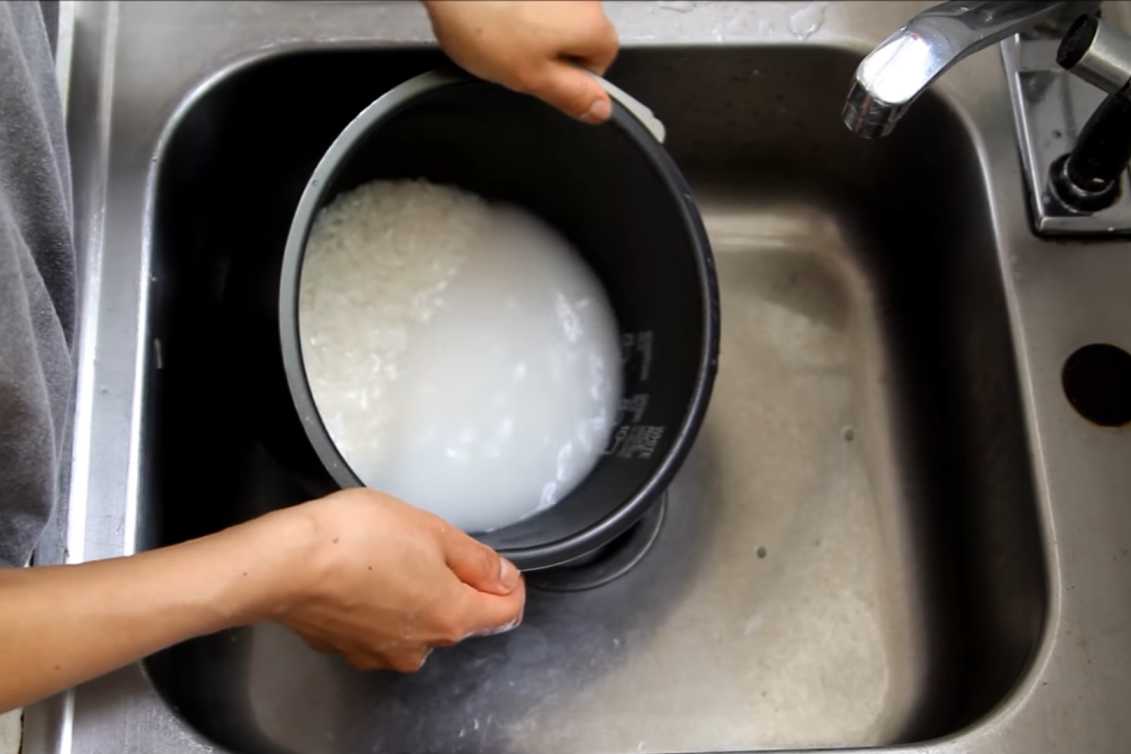
Once you’ve decided how much sushi rice you want, it’s time to wash it. There are several ways to do this step, but we believe this one is one of the easiest and best ways to go about it.
Here, you will want to put the rice in a bowl that has some depth. You can use the one that comes with the rice cooker.
However, if your rice cooker has a non-stick bowl (e.g., a Zojirushi rice cooker), you might want to use another bowl instead. That is because there is a chance the rice will scrape the non-stick coating.
Next, it’s time to put some water in there. Note that you should use cold water. Hot water might seem better for cleaning. However, it will ruin the rice. Also, you would burn yourself!
After mixing your rice a bit, throw the water out, and you will notice it has turned into a milky white color. You will have to wash the rice a few times over, but the goal is not to see the water clear.
By the end, you still want to see a white tint there. Remember, we need our sushi rice sticky. Over washing your rice will remove the starch, which helps the rice bind together.
You might find this step tricky as the rice is not yet sticky and will likely be dragged with the water when you try to throw it out. For this problem, you can try to use your hands. On the other hand, you can also try to use a sieve.
You can use the sieve as a safety net to catch any rice. On the other hand, you can put the entire rice in the sieve and let cold water run through it. However, as we’ve said above, this method might not be ideal for this kind of rice.
It’s a good last resort if you keep on accidentally dumping the rice on the sink, though. We don’t want our sushi rice going to waste, after all!
4. Putting the Rice in the Rice Cooker
After washing the rice, it’s time to put it in the rice cooker. There are also several ways to go about this step.
It could be a confusing step, so feel free to go about the way most familiar to you. However, we will show you the one that we believe is easiest to follow.
First, put all the rice you’ve washed in the rice cooker bowl. (Assuming you’ve used another bowl.) You might want to employ the help of the cup that came with your rice cooker for this.
Using this cup, scoop up rice from the bowl into the rice cooker. Make sure the rice is leveled in the cup, though! Also, don’t forget to count.
After counting how many cups of rice you’ve put in the rice cooker, put the same number of cups of water in there. Add one or two more cups after. This addition ensures the rice will be cooked thoroughly.
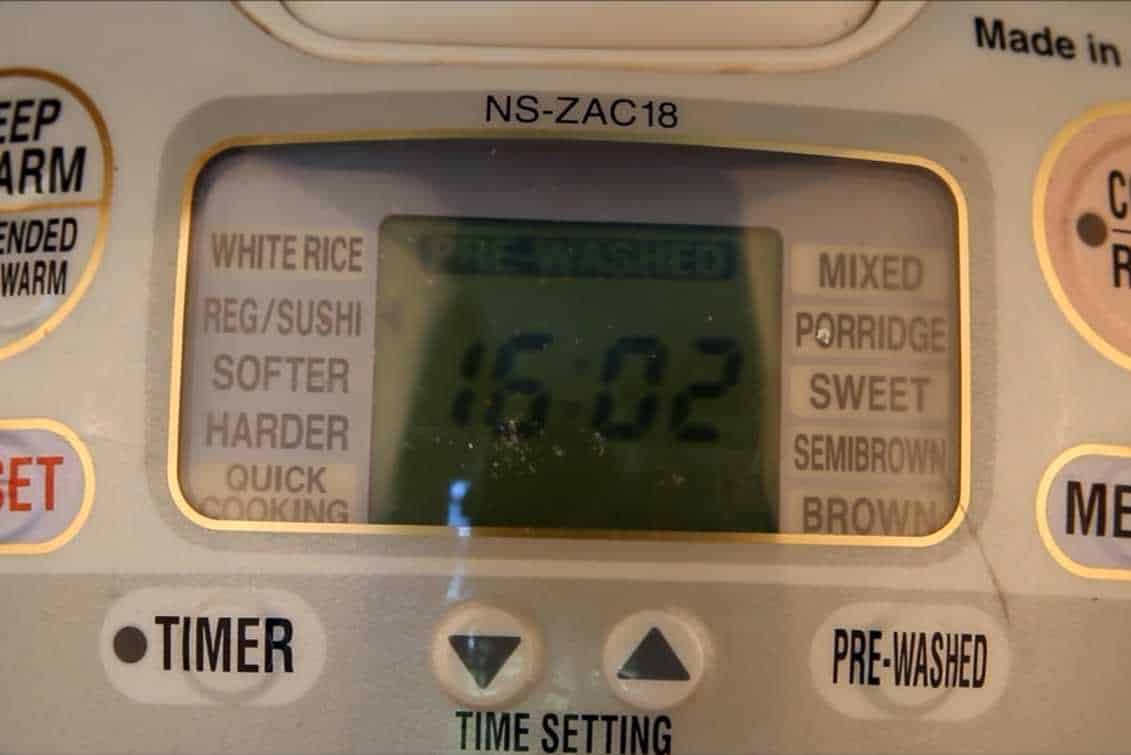
Next, set your rice cooker. The configurations would vary depending on what rice cooker you have. You might only have to turn it on, or you might have to set it up.
5. Making the Rice Seasoning
Once your rice starts cooking, it’s time to create the seasoning that will turn it into sushi rice.
Again, there are many ways to go about this step. If you want something fast and easy, you can opt for a premade seasoning. On the other hand, it could also depend on the sushi recipe you’re following. The one we will show you is, generally, the most common way to make the seasoning.
Get your rice vinegar, sugar, and salt, and measure them. As you might expect, the measurements would depend on how much rice you’re making and how flavorful you want your sushi rice to be.
Generally, for around 540ml of rice (i.e., three rice cooker cups), you want 80ml of rice vinegar, three tablespoons of sugar, and one and a half teaspoons of salt. Mix these three in a bowl.
Heat is not essential in mixing these three up, but if you would like to use some, then you can. You can put the mixture in the microwave for some time or heat it over the stove to make sure the sugar dissolves.
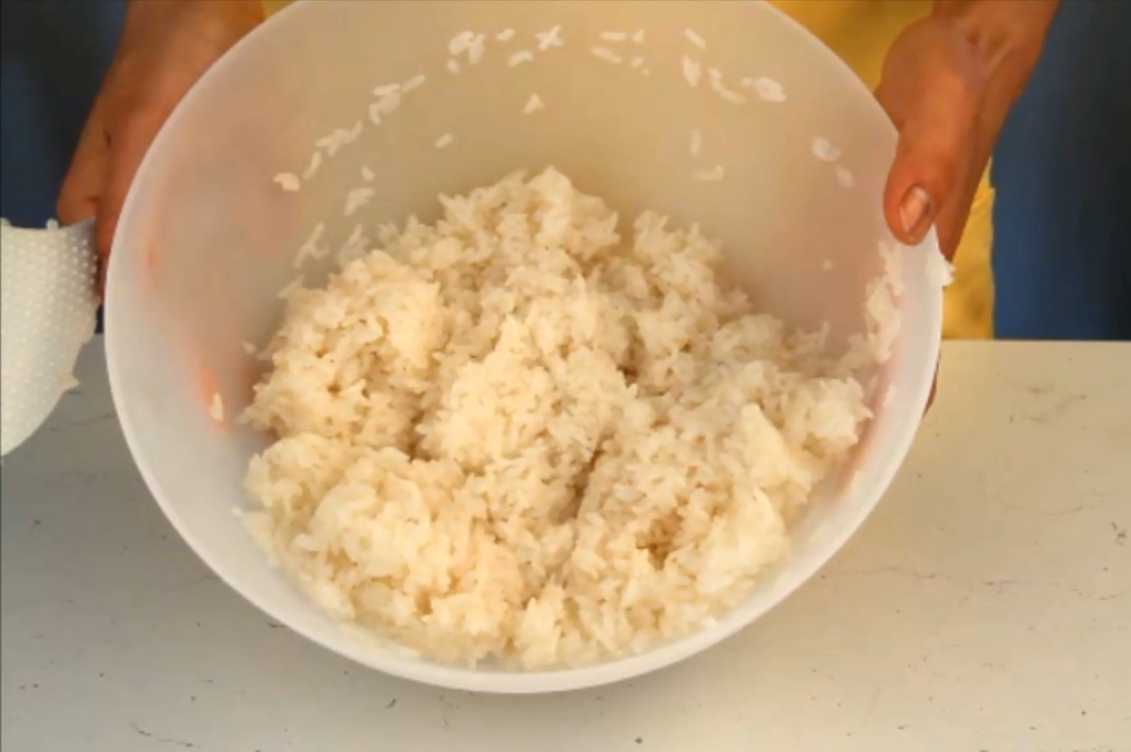
6. Mixing Everything Up
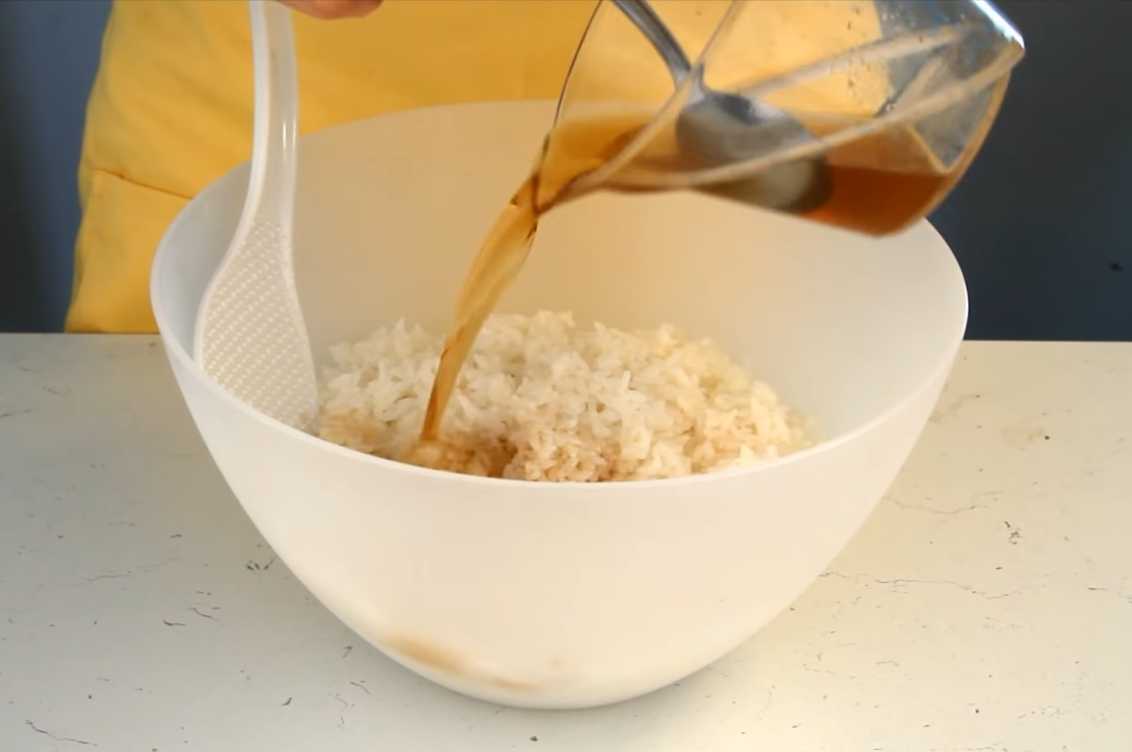
Once you’ve taken your rice out, it’s time to mix everything together.
Put your rice in a bowl and pour in the seasoning you made. In mixing, it would be ideal to go under the rice on one side and bring it around, dump, slice, slice, slice, and repeat.
If you really want to do it the traditional way, you might want to use a hangiri and an uchiwa.
A hangiri is a wooden tub. Instead of a bowl, you can opt to use a hangiri instead. It is not only for aesthetics, though! Would you like to know more about the advantages of using a hangiri? If so, you can go here.
On the other hand, an uchiwa is a fan. It helps in making the sushi rice shiny. However, you don’t have to look far and wide to find an uchiwa. You don’t have to use this exact fan for this job.
Still, if you want your sushi rice to have a beautiful shine, you will need something to cool it down fast while mixing it. With that, if you intend to use a fan, you might need to employ the help of someone.
7. Cooling the Sushi Rice
Here, you should put a damp towel over your sushi rice until it reaches room temperature. Of course, it would be best to use a clean towel for this.
Soak the towel with cold water, and make sure you wring it out properly before putting it on your newly made sushi rice. Keep this towel on until you plan to use your sushi rice.
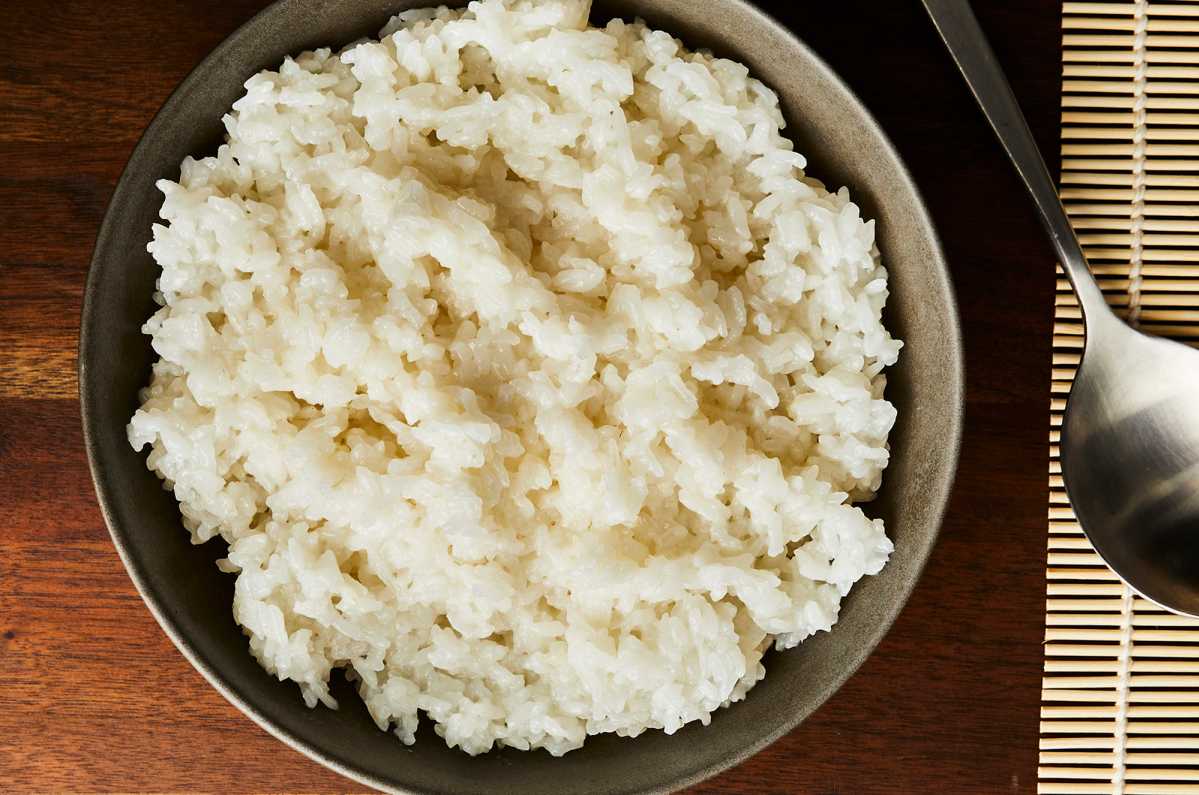
There you have it! Sushi rice!
Now that you have sushi rice, you can now make some sushi to celebrate!
Summary
Are you still wondering how to make sushi rice in a rice cooker? We hope not!
Today, we showed you how to make sushi rice in 7 easy steps. Making sushi and sushi rice might look daunting. However, as you have seen today, it’s easy!
First, you need to get the correct rice for the job.
After that, you will need to decide how much sushi rice you want or need and measure.
Third, you need to wash your rice. This step might be tricky at first, but with some practice or the help of some tools, you’ll be doing it like a pro sooner or later.
Next, put the washed rice in the rice cooker. This step could be as easy as pressing on the switch. However, you might have to do some configurations if you have a fancy rice cooker.
While the rice is cooking, you can start making the seasoning. This step could be as easy as mixing vinegar, sugar, and salt. On the other hand, it could become complicated depending on the recipe you are following.
Once the rice is out, it’s time to turn it into sushi rice. Get a bowl and mix your rice with your seasoning.
Finally, dampen a clean towel and place it on your newly made sushi rice while waiting for it to cool.
Now, it’s time to enjoy your sushi rice. Itadakimasu!

Hiroshi Nakamura, a Tokyo-born sushi chef turned US-based writer and critic, is the voice behind ichisushi.com, blending traditional sushi wisdom with modern insights.